


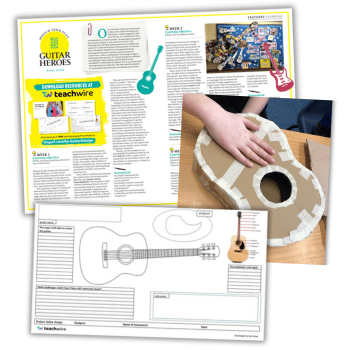
CAD and CAM – How to teach them in KS2 DT
Computer-aided design and manufacture can be rather terrifying for teachers to tackle, but there’s no need to be afraid…

- by Tony Ryan
Computer-Aided Design (CAD) and Computer-Aided Manufacturing (CAM), whilst included in the KS2 national curriculum for design and technology, are often areas where primary teachers lack confidence.
Not that long ago, you’d need a dedicated suite of computers to teach CAD. You could spend hours configuring software, either on a network server or, worse still, on each machine separately.
Even where CAD was confidently included in the curriculum offer, CAM was unanimously deemed possibly too difficult, and definitely too expensive, for primary schools and teachers to deliver.
So it’s not surprising that many teachers still feel underqualified to tackle either skill.
The good news is that those days are behind us. The introduction of cloud technology has, with most CAD software packages available, made the product readily available without the need to download onto local machines. Most CAD and CAM programmes will work happily on iPads or other tablet devices too.
Free or cheap
Better still, with most major software manufacturers realising there are substantial long-term benefits to young learners using their software, the majority have made the use of their products either completely free or very cheap.
The software has also benefited from years of development and feedback and is now intuitive and easy to learn. Children – who are usually native to the interfaces used with the major products – will be up and running within a matter of hours.
Students with home access to hardware can (and do) carry on learning and designing in their own time and at their own pace.
Online tutorials produced by the product manufacturers, and available free online, allow both teachers and their pupils alike to learn, draw and experiment.
Introducing CAD to your class
I suggest starting out by incorporating CAD into a structured design activity.
Find an example of a simple shape or product that the children will be able to replicate online easily. Ask them to observe, pick up and rotate the object. This is so that they gain a full understanding of what it looks like from different viewpoints.
Now get them to draw the shape freehand, using pencils and paper, from multiple angles. Don’t worry too much about dimensions here; just concentrate on drawing the shape as accurately as possible.
Next, guide pupils through drawing and adding to this shape using CAD software. Have an example ready that you have drawn yourself beforehand that you can use to demonstrate. (This will also enable you to answer the children’s questions during the demo with more confidence.)
Bringing in CAM
You could stop there. But why would you?! Advancing to simple forms of CAM is a logical next step. It will allow you to replicate some quite advanced industrial practices relatively inexpensively. Doing this will draw the children into a full design-and-prototype scenario very naturally.
Most CAD software packages will work with mainstream CAM machines. However, always make sure before you purchase that your software, device and machine will all be fully compatible. If you’re uncertain, the software/hardware manufacturers and retailers will be able to advise.
Trending
Base-level (but perfectly acceptable) CAM machines are currently available at around £300. You’ll also have a wide choice of output devices (machines) that you can choose from. This includes knife- and laser cutters, 3D printers and embroidery machines.
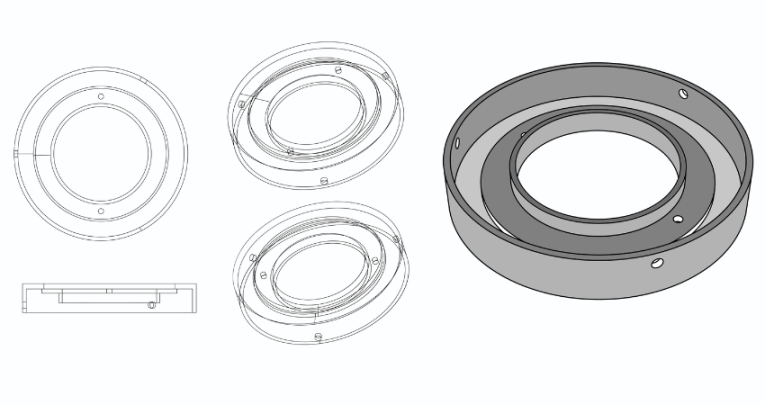
The approach I’ve outlined here can ultimately allow your pupils to complete an end-to-end DT project. Presented with a problem, they’ll be able to use software to design a solution, simulate its manufacture and test its efficiency and accuracy on screen. Then they can connect their drawing to the output device and watch the product appear before their very eyes, like magic! I defy anyone who has seen the process not to be impressed as an item designed and tested on screen appears layer by layer on a 3D printer.
CAD and CAM in practice
The following Year 5 case study illustrates how you can teach computer-aided design and manufacture in school successfully.
In the playground, the teacher gave four teams of pupils a cheap bubble mixture bottle and encouraged them to open the bottles and blow some bubbles into the air.
The bubbles had to project upwards. The teacher told pupils that the team whose bubbles took the longest time to reach the ground without bursting would win a small prize.
The teacher then asked all the teams to pause and observe what had happened over the course of the last two or three minutes. Some children commented that differently shaped bubbles emerged depending on the shape of the blow stick. All the pupils observed that the bubble liquid had run down the stick onto their fingers.
Initial ideas
Next, the children returned to the classroom. Working in teams, they wrote down what they’d observed, and then sketched some initial ideas of how they might redesign the product.
The teacher then demonstrated how to draw, colour and rotate a prototype bubble mix bottle and stick using CAD. Finally, they connected the CAD software to a 3D printer to manufacture their bottle and stick prototypes. The teacher guided the pupils to follow the same process.
Although required to use the same bottle shape as the teacher, the teams had free rein on the design of the blow stick. They had to design the stick so that the bubble fluid wouldn’t drop onto the users’ fingers.
Over several weeks, the pupils tested and refined their designs, ultimately manufacturing a full class set of products.
During the project, the children had worked effectively in teams. They all learned how to add a design to CAD and then safely and efficiently use a 3D printer to manufacture a final product to exact dimensions. Ultimately, they had encountered and responded to an industry-standard design problem that most of them would remember for the rest of their lives.
Why wouldn’t you want that kind of experience in your school curriculum?
What’s in it for your class?
- CAD is included in the KS2 national curriculum for design and technology. Therefore, Ofsted will expect to see this (or plans to introduce it soon) on your school curriculum offer.
- Children can often be liberated by CAD where they are frustrated with a pencil. Always start with a freehand sketch of the item being designed, but view CAD as an extension of the pupils’ drawing toolkit. Once the basics of CAD are grasped, pupils often find it easier to draw online and can rotate the object 360 degrees to check it from every viewpoint.
- Think of learning to draw in CAD as rather like picking up the basics of a foreign language. Whilst you may never go on to live in that country and use the language daily, knowing how to write and understand a little of it is a life skill that can only be of long-term use.
Tony Ryan is chief executive officer of the Design and Technology Association.