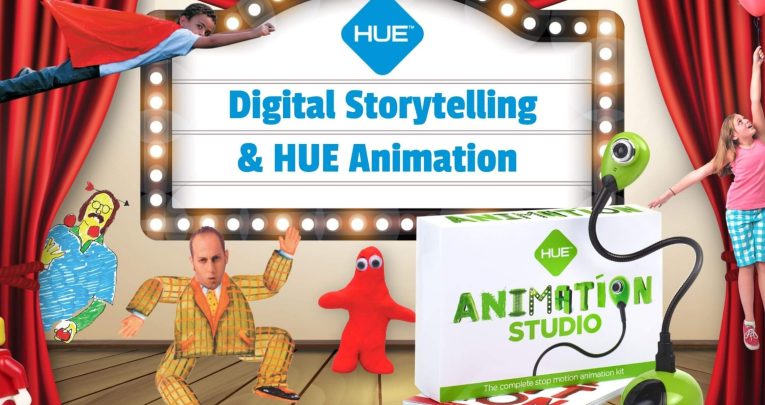
Digital storytelling combines digital media and computer-based tools to take an audience on a narrative journey using sound, pictures and text.
Digital stories can come in many forms such as Google Slides presentations, podcasts, videos with sound and subtitles, blog posts and animation.
Stop motion animation is a highly popular medium for creating digital storytelling projects in schools.
Because there are so many different roles involved in creating an animation, every student is able to contribute their unique talents. Add the fun and excitement of stop motion animation, and the result is engaged learners who are motivated to tell amazing digital stories.
HUE Animation Studio is the perfect starter kit to introduce children to digital storytelling. It includes a flexible camera with built-in microphone, stop motion software (Windows only), a 64-page full colour book and a whole host of fun resources to inspire young storytellers.
How to get started
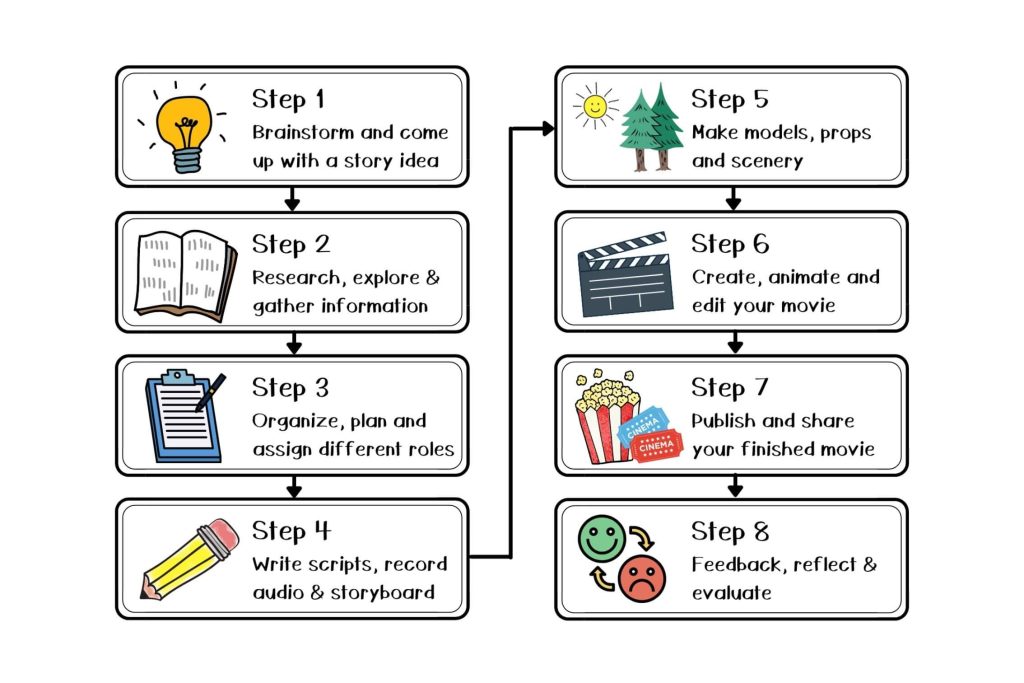
You can break down the digital storytelling process for stop motion animation into eight simple steps, each of which offers a wealth of opportunities for cross-curricular and social-emotional learning (SEL).
Whether you want to create one short video or an end-of-year film festival, breaking the activity into manageable chunks helps students plan, set realistic goals and enjoy appropriately scaffolded learning experiences.
Step 1: Brainstorming story ideas
Every story starts with an idea. You could reimagine a historically accurate event, or you could create something wild and imaginative.
A spark of inspiration can come from anywhere – a favourite book, a holiday adventure, or perhaps a folktale.
Students can work independently, in small groups, or you could engage the whole class in a lively group brainstorming discussion.
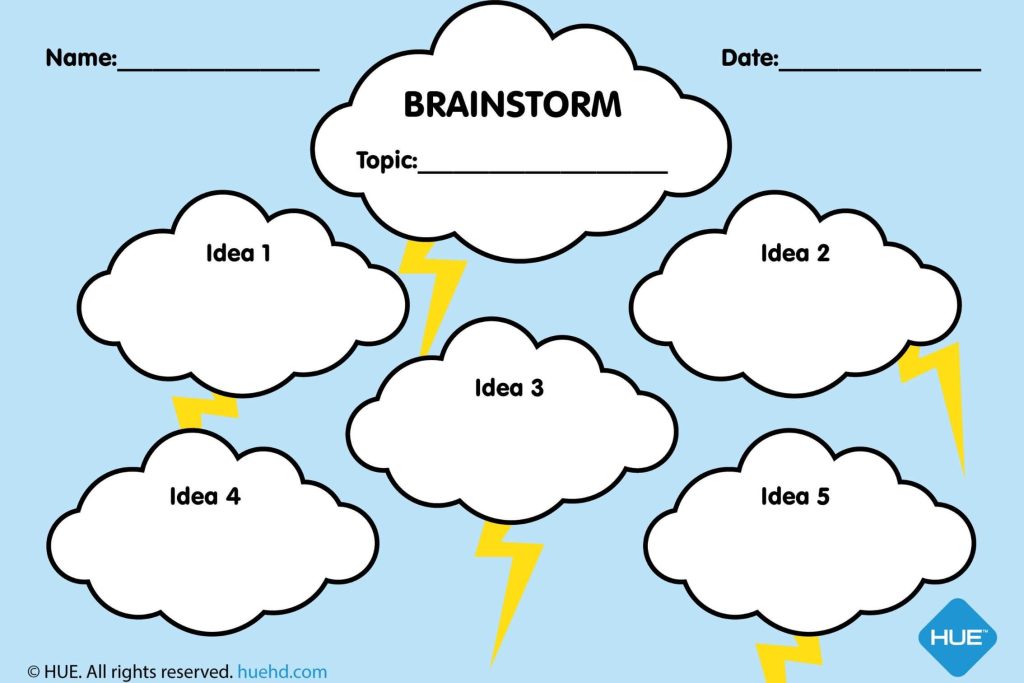
Click here to download this free worksheet.
Step 2: Research and information gathering
Now it’s time to research, explore and learn about your topic.
Whether you want to create a work of fact or fiction, you must gather information and reference materials to help bring your story to life.
Step 3: Organising and planning
Each student needs to be assigned a different role at this stage in the project. Who will be the director? Who will be in the art department? Who will make the invitations for the film screening?
Assigning different roles to students allows them to take the lead on the project and introduces them to self-organised learning environments (SOLE).
Just make sure to let everyone know how long they can spend on each task.
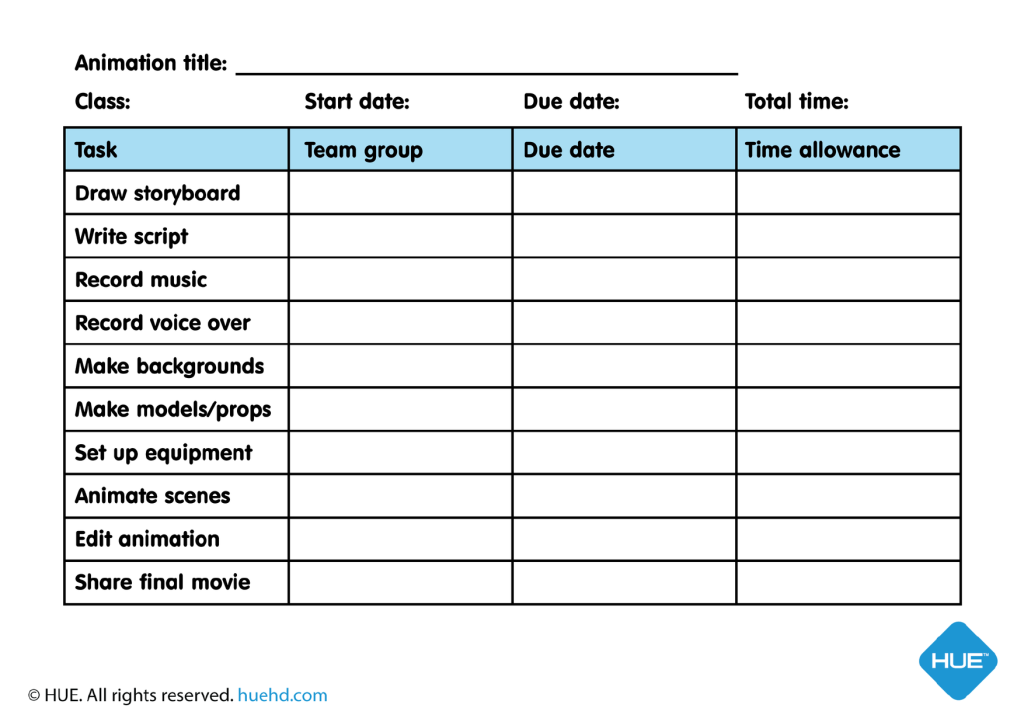
Click here to download this simple animation project planner.
Step 4: Write scripts, draw storyboards and record audio
The act of scriptwriting and storyboarding is a fantastic way for kids to practise narrative and literacy skills without them even knowing they are doing it.
Visual sequencing activities can also benefit children with Special Educational Needs and Disabilities (SEND), providing them with a way to put their thoughts on paper and express their ideas pictorially.
If you haven’t made a storyboard before, the folks at Howcast.com have got you covered with this simple explanation video.
Music, voiceovers and sound effects help to bring stories vividly to life.
You could challenge the actors and musicians in your class to read and record scripts, create their own foley, or use research skills to source free music and sound effects.

Download these free resources from HUE’s Teachers Pay Teachers (TpT) store today!
Step 5: Make models, puppets, props and scenery
Depending on how much time you want to spend on the project, there are different animation styles you can choose to fit your timescales.
You could try claymation or paper cut-outs and make painted backgrounds and hand-crafted props but, if you are short of time, you can create compelling animated movies with toys and a few found objects.
We love how Wood County District Public Library brought the story of The Three Little Pigs to life with toy models, some fabric for a backdrop, and pen and paper subtitles.
Step 6: Animate and edit your movie
Lights, camera, action – now it’s time to bring everything together!
First, set up your equipment then, using your storyboard template, assign each scene or shot to a different pair of students so that everybody has a chance to animate a section of the film.
Children can become proficient animators in a matter of minutes but, if you need a little guidance, you can check out these stop motion tips and tricks or watch this HUE Animation tutorial video from YouTuber and teacher, Matthew O’Brien.
Finally, edit your movie ready for the premiere!
Step 7: Publish and share your finished movie
Pop some corn, dim the lights and get comfy because it’s showtime!
Sharing your finished movie is a beautiful way to celebrate everyone’s hard work, and can also present extra learning opportunities.
There are numerous ways to make the most of this seemingly simple step, from sharing the film in class, uploading to the school’s parents sharing site, creating a blog post or publishing on YouTube or TikTok.
Step 8: Reflect and evaluate
At the end of your project, an often forgotten step is to reflect on and evaluate the project.
This can help build children’s critical thinking skills and empower them to take ownership of their achievements and learning goals.
We would love to see your digital stories, so please share your creations with us by visiting huehd.com/contact or tag us @HUEcameras in your posts on social media.
Written by Ruth Barrett. Ruth studied traditional animation at Southampton Solent University and is our resident animator at HUE. She has a wealth of experience in creating stop motion animated music videos and commercials, and has worked with children in schools and at private workshops.