LEGO Challenge – ‘Build An Apartment’ Lesson Plan
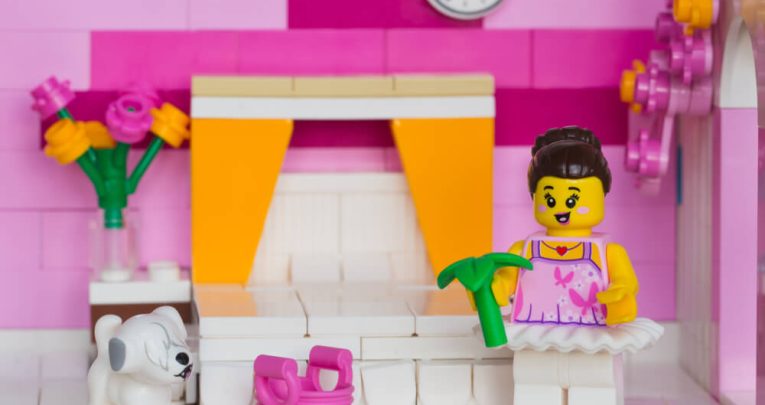
Task your pupils with designing and building their dream holiday apartment, suggests Rob Widger…
- by Rob Widger
Could you pupils design and build an apartment block for a theme park?
The challenge is simple:
- Children must design and build a room for a family to stay in at a theme park; the family will be represented by LEGO mini-figures
- The base on which the design of a room can be built is a maximum of 16×16 studs in size – if children choose to build an apartment, this can be increased to a maximum of 32×32 studs
- A roof is not needed, since we need to be able to see into the room – bathroom facilities are compulsory, however, with a toilet and shower required at the minimum
Any LEGO set can be used to create your plan view. But I use the following kit:
- LEGO Education Sceneries Set
- Collection of minifigures
1. Connect
Discuss the learning objectives with the class. They will use LEGO to gain a better understanding of plan drawings and scale.
Begin by showing images of different hotel room layouts (including the rooms at the LEGOLAND hotel in Windsor, perhaps) and ask the group to describe the features of the rooms. Draw out the main facilities, such as the beds, bathroom, cupboards, chairs and television.
Now set the scene. Tell the children to imagine they are going to design a room in which they and their family will stay on holiday. What will they need to include to in such a room or apartment to make sure it’s a great stay? Ask the pupils to come up with a list of requirements.
2. Construct
It’s time for the students to start creating their masterpieces. If you allow them to start designing their rooms without a brief, however, their natural inclination will be to build as big as possible, with the likely result that they will run out of time and bricks.
With this in mind, ensure that children are realistic about the size of their designs. A 16×16 stud base plate is an ideal starting point for a room (or potentially 32×32 studs for larger apartments). It’s important for the children to have access to a good number of mini-figures, since these will give them a sense of scale when designing their rooms. The mini-figures should be able to move freely around their surroundings; if they cannot, point this out.
3. Contemplate
How is each student’s design progressing? Are there any aspects that can be improved upon? Does the bathroom have a toilet? Does the living room have a TV? Can the mini-figure easily move around each room?
Explain to the students that LEGO pieces can be used to represent anything they like. I have previously seen one pupil use a LEGO telephone to represent a shower unit – it did really look like one when placed in the room!
The next step is for students to create a plan of their room using squared paper. Ask them to use 2D shapes to represent the various facilities within the room, using different colours as the key. Point out the need to create a one-to-one scale with one square representing one LEGO stud.
4. Continue
Now that the students have created a single model, it’s time for them to build a complex of rooms. The new design brief will entail students creating a four-room complex with a central area.
Ask children to think about what this central hub should contain – tables, chairs, a café, perhaps some shops? Will all the rooms be identical, or is there time to create individual living spaces?
Once the complex is created, the children should draw it up as a plan and present it to the rest of the class.

